Precision Cutting Tools|Precision Cutting Tools|Broaches
Broaches
The handling companies : Nidec Machine Tool Corporation
- Contact information for product inquiry
- Contact us
Nanodynamic Broach
Features
- Super-hard coated to maximize the tool life (twice as long as that when TiN coated).
- The flaking of broached workpieces tooth surface is reduced thanks to the significant improvement of brooches tooth roughness to Ra 0.03 µm.
Surface roughness


Performance
Flaking of workpieces is reduced and the tool life is improved as twice as conventional TIN coated broaches.
| Broach size and material | φ25mmxL1500mm MAC-A |
|---|---|
| The tooth measured for wear | #31 finish teeth |

Constant Cutting Force Broach
Features
- Stable broaching with constant cutting force of the roughing teeth
- Lowering the cutting force setting will give less impact to the existing machine and allow the use of a lower rank compact machine.
- Increasing the cutting force setting will maximize the performance of existing machine leading to shorter tool length and less machining time.
Samples
| Work piece | DP24/48 |
|---|---|
| PA30° | |
| NT30 | |
| cutting length 23.5mm | |
| S48C | |
| Broach | Involute spline broach |
| Φ33 x L900 | |
| SKH51 |

Burr-free Broach
Features
- The original designed of cutting teeth can minimize occurrence of burr.
- The original super-hard material with excellent grinding performance can ensure prolonged cutting edge sharpness.
Samples
| Work piece | m2.0 |
|---|---|
| PA20° | |
| NT30 | |
| cutting length 18.1mm | |
| SCM420 | |
| Broach | Involute spline broach |
| Φ65 x L1350mm |

Fir Tree Broach
Features
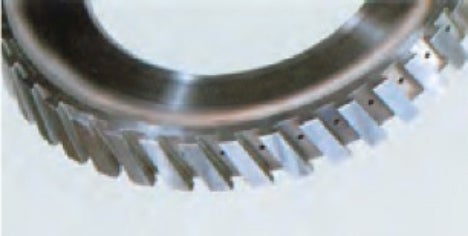
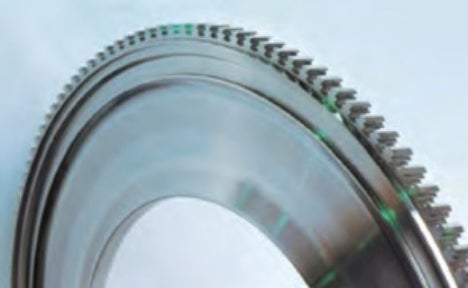
Using technologies and know-how developed through the long year experience of supporting aircraft and turbine manufacturing industries, we can provide high-precision and high-quality products.
- High precision can be obtained with the original optimized design based on our rich experience and advanced technologies.
- Long tool life achieved by adopting high-alloy powder high-speed steel for difficult-to-machine materials
- High reliability ensured by the dedicated line equipped with the advanced NC gear grinding machine and sharpening machine

-
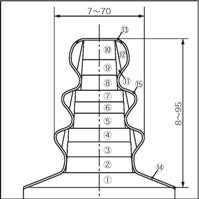
Layout and tooth size of fir tree broach -
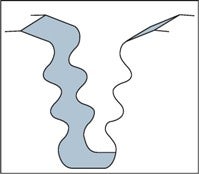
Groove machined with fir tree broach
-
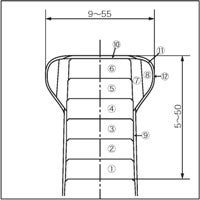
Layout and tooth size of dovetail broach -
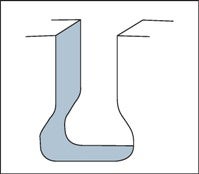
Groove machined with dovetail broach
Processing by broaches
Processing by internal broaches
The internal broach can make up the specific shape of work piece internal surface efficiently and with high precision.
Normally the internal broach is inserted into a pilot hole which is made on the work piece before machining.
Various kinds of hole can be created by selecting the optimum cutting edge shape and cutting method (for example, round hole, square hole, polygon hole and various kinds of spline hole and tapered hole)


Samples of machining result
-
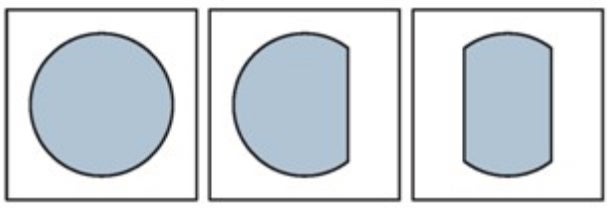
Round broach -
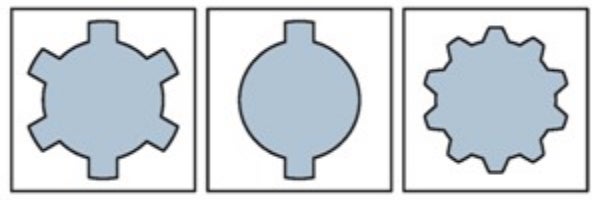
Spline broach -
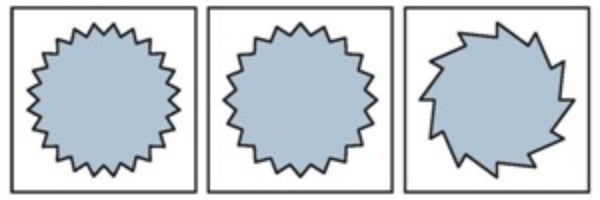
Serration broach -
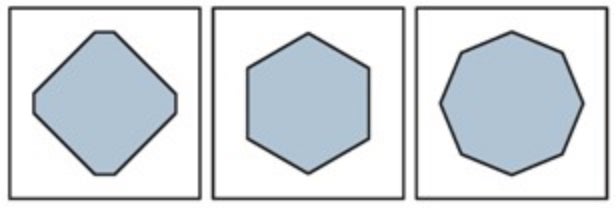
Polygonal broach -

Special shape broach -

Special shape broach
Samples of machining result
Processing by surface broaches
The surface broach can make up the specific shape of work piece outer surface efficiently and with high precision.
Roughing and finishing can be conducted at the same time, which means significantly higher productivity than milling, plaining and grinding.
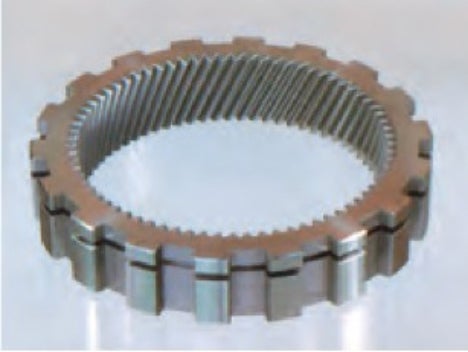
It can machine many kinds of shape (for example, plane surface, contour surface, various kinds of groove, concave-convex surface, gear, turbine blade root, and turbine disk groove) and their outline can be either simple such as keyway or complex such as fir tree shape.


Examples of machining result


Examples of machining result

Cutting method

Types of Broaches with Round Teeth

Hardness of Work piece
Hardness of work piece suitable for broaching is generally HB200 to 230 (HRC14 to 21).
Also up to HB300 (HRC32) is used popularly. Too soft steel may cause adhesion on the side of tooth or the land resulting in low quality of finishing surface with tear or flake. Harder work piece than HB300 may shorten the life of broach.
Cutting Speed
The cutting speed has an influence in both the accuracy of broaching and the tool life. Use the recommended values for each material shown below as the guide to determine the cutting speed.
Recommended cutting speed by materials

How to Resharpen Broach Teeth
Timing of resharpening
Resharpen the teeth normally when the symptoms as below occurred in the broach, work piece and broaching machine.
In practical ways, use the number of machined work pieces as a standard when the symptoms appear.
| Broach | Whitish land due to wearing appears on the cutting edge. |
|---|---|
| Abnormal wear, chipping or crack occurs on the cutting edge. | |
| Chips are pressed and adhere to the gullet. | |
| Machined work piece | Machined size is smaller than normal (the thickness gauge does not get in). |
| Machined surface is more rough than normal. | |
| Abnormally high heat is generated when machining ends. | |
| Broaching machine | Cutting force is abnormally high. |
Cautions for resharpening
| Tool | Remove adhesion from the cutting face. |
|---|---|
| Correct if the tool is warped. | |
| Securely fix the tool to the sharpening machine. (If the crack of edge cannot be removed by resharpening, contact us.) |
|
| Grinding wheel | Use a sharp CBN grinding wheel. |
| To increase grinding efficiency, use a grinding wheel with as large diameter as possible. | |
| Regularly dress the grinding wheel. | |
| Grinding condition | Grinding amount: Grind the same amount for each tooth to remove worn part. |
| Grinding rate: 1,800 to 2,000 m/min (In case of internal broach, work piece rotating rate:around 30 m/min) |
|
| Others | For internal broach, be careful to prevent interference between the tool and the grinding wheel (see how to determine the grinding wheel angle for resharpening internal broach teeth shown in the right). |
| Use well-maintained sharpening machine. | |
| Make sure that the grinding fluid is not deteriorated and feed an appropriate amount. |
Grinding wheel angle for resharpening internal broach teeth
In contrast to the case of surface broach, internal broach may not be resharpened correctly if the diameter and setting angle of grinding wheel are not appropriate, as the grinding wheel and the tool may interfere with each other.


Explanation of the diagram : If you resharpen the broach of diameter d=30 with the grinding wheel of diameter D=50 and the cutting edge hook angle is α=15°, the appropriate setting angle of grinding wheel is β=41°.
Points to be checked after resharpening
- Ensure that the wear and crack of the cutting edge are completely removed.
- No grinding burn.
- Ensure the roughness of finishing surface is at 3.2s or less.
- Ensure degaussing was conducted.
- No remarkable unevenness in gullet that may prevent chip removal (see the below sketch)


